Archive for April, 2013

1984 pt. 6 – housing

Wednesday, April 17th, 2013

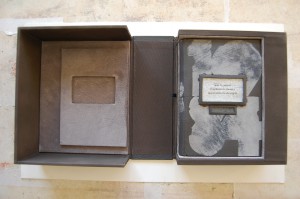
Finally, the box. The book originally came to me with an incomplete dust jacket; probably the circumstance which made this copy suitable for rebinding. However, the dust jacket was still worth preserving, so I made a cloth covered two-flap portfolio for it, and built the box inner shell according to the Library of Congress plans for a box and portfolio.

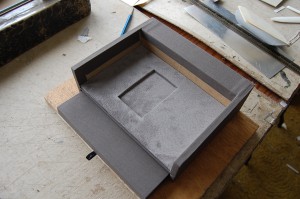
The inner shell was constructed so as to fit both the portfolio and the finished binding. The shell was covered with gray Iris bookcloth. After covering the shell and portfolio were airbrushed with a combination of raw umber and black to bring down the tone The shell was lined with gray suede adhered to thin board, turned in, and glued into the shell. Next the outer shell was built, covered and airbrushed.

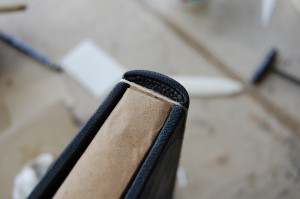
The board for the spine was covered with a a piece of the same gray leather used for the binding, turned in head and tail, and then adhered to the bases of the shells. This style of box was a favorite of the Eberhardts; I like it because the flat spine with the leather disappearing under the boards makes for a very contemporary box, as opposed to the rather Victorian round spine (sometimes with fake bands) extending well onto the boards.

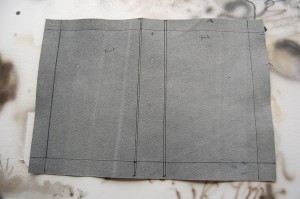
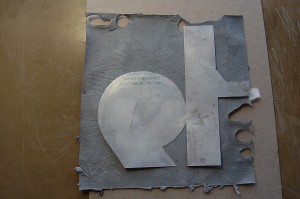
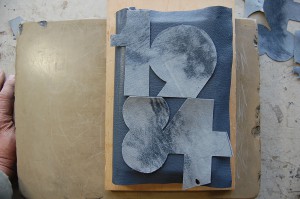
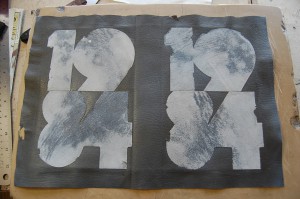
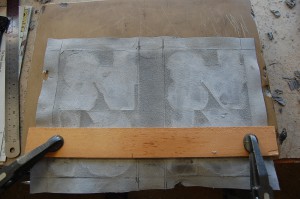
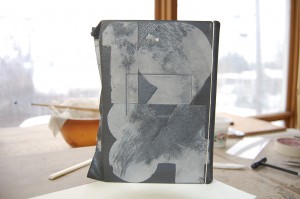
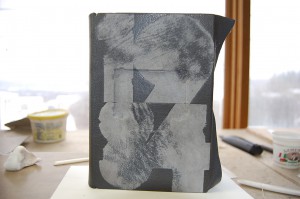
The boards were covered with gray Iris, and the same aluminum patterns used for the onlays did double duty as airbrushing masks.

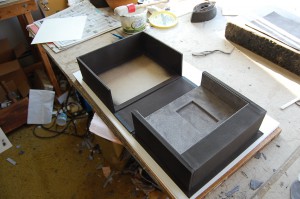
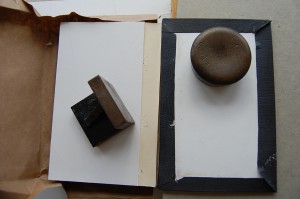
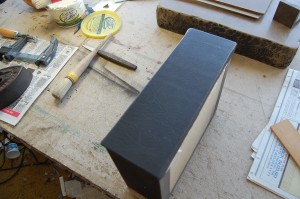
This image shows the box after the spine lining cloth was attached, and before the suede lining pad for the outer shell was made and adhered.

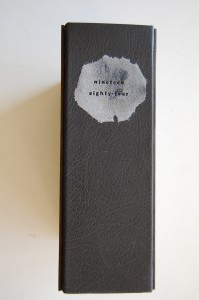
The final step was to pare, line and stamp an irregularly shaped piece of suede for the box label and and adhere it to the spine.

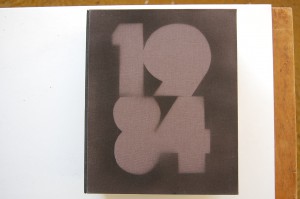
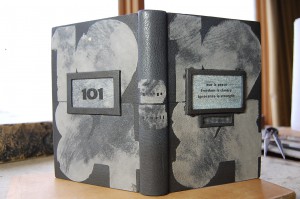
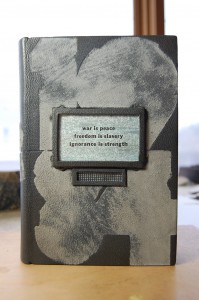
And an image of the final presentation. I want to thank the client, who was willing to let me share the documentation of this extremely gratifying project.
1984 pt. 5 – cover and onlays

Friday, April 12th, 2013

The leather for 1984 is a gray third quality Harmatan skin. I was hoping for something with a fair amount of imperfections, but it was quite nice for a third.

Above is the cover leather marked out for paring. The turnins were flat-pared to the thickness of two-ply board, which was used to fill in the inside of the cover board. The corners and headcap areas were then hand pared, and the joints were folded, creased hard and then the top of each crease was hand pared just enough to flex easily.

The onlays were made from pieces of the suede side of the gray goat pared very thin on the Schärf-fix, given a thin pastewash and dried on a flat surface ( I used a melamine surfaced sink cutout; useful thing to have in the shop). The patterns for the numerals 19 and 84 were made from thin aluminum lithographic plates and used to cut out the onlays.

Here you see the onlays loosely placed on the cover. The last step before applying the onlays was to edge pare them by hand. This caused some irrregularities in the edges that I think improved the design.

The onlays were adhered with a PVA/paste mixture and immediately given a hard press for about half an hour.

Then the cover was clamped face down onto a litho stone,  pared with a spokeshave and then given another hard press. By repeating this process another couple of times the onlays were very effectively sunk into the cover leather.

The actual covering was done in the standard German style: the spine of the cover was pasted out and adhered to the spine of the textblock and allowed to dry. Then the sides were put down with paste (normally I use hot glue, but needed a little extra time to work the leather down into the recesses in the front and back boards).

Once the sides were dry, I did the head and tail turnins and the caps.

Here’s the book prior to doing the foredge turnins and inner joints.

And here is the inside of one board after the inner hinge and foredge have been laid, just before finishing the corners. After this I tipped a piece of two-ply board to the inside of each cover board, then cut through both the two-ply and the leather of the turnins. Then I lifted out the lining boards, trimmed a sliver for expansion and adhered them back down, leaving an even base for the pastedowns, which were applied with paste and allowed to dry.

The final steps were to make and apply the spine labels of stamped suede, tool the single blind horizontal line across both boards and the spine, and to adhere the insets to the front and back boards.

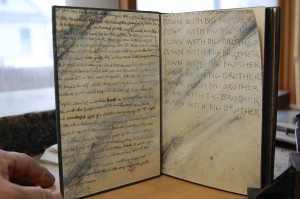
Here are the front pastedown and flyleaf

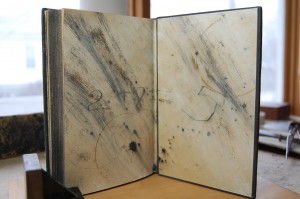
and the rear.

Next: the box.